FURNITURE PAINTING 101: Tools of the Trade.
My Top 6...
When I deliver Furniture Painting Workshops, one of the first things I get asked about are the tools of the trade, or at least the things that I often use, and why.
Just about every furniture painter I have spoken with has developed little hacks to help them with their projects and they have their favourite tools to help. These six just happen to be a list of mine...
My most used tools of the trade...
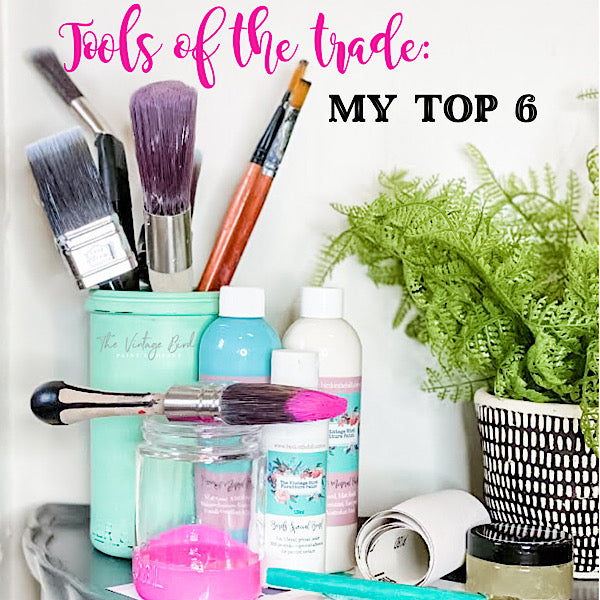
(1) Good Quality Brushes
One large or medium size (35 - 50mm ferrule diameter)
One small, flat ferrule (10mm diameter)
Preferably good quality nylon/synthetic bristles as they help to provide a smoother surface and I find are easier to clean/maintain.
A good quality brush, if well cared for, will last you for years. Treat your brushes like your best friend!

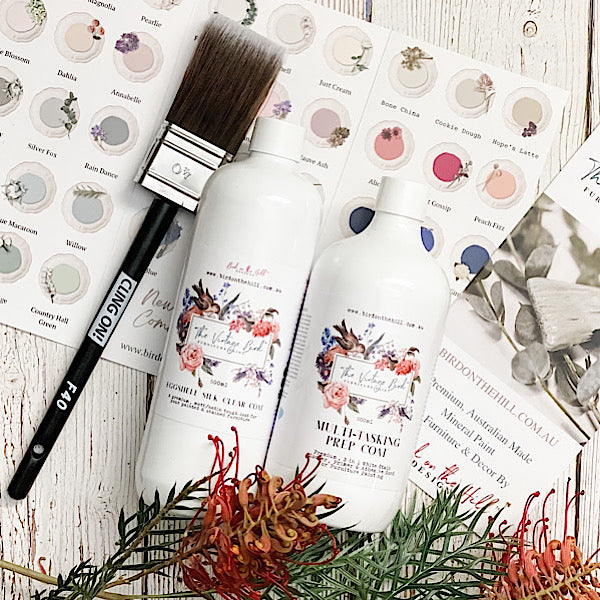
My go to brush is my Cling On oval ‘O35’. It’s a great all-rounder.
A good quality wax brush is important if you like a wax finish on your painted pieces, or wish to add a patinated finish with coloured waxes. A natural bristled wax brush is best (hog hair is good). One size should work in most applications. A good size is 30-50 mm ferrule diameter. The brush I like to use is the Madeline Medium size pure bristle round brush.
You should also have a good supply of lint free cloths on hand when waxing. I also cut up old towels as they are good for buffing. The older the better - they are much less likely to leave any “fuzz” behind!

If you are waxing using different colours, it’s easier to have two brushes. The most effective way to clean your wax brushes is to soak them for an hour in White Spirits (dry cleaning fluid), then wash well with hot, soapy water and rinse well under clean water. Allow them to dry thoroughly.
(2) Sand Paper:
For most applications, you could need a fine, medium and course paper. For example: 80, 250 and 600 grit. In most cases, I would only use 250 and 600 grit, as lower than 250 risks scratching too deeply and leaving marks that will show through your painted surface and damage the timber or veneer. It’s cheaper to buy this on the roll than in individual sheets, and investing in a cork sanding block to wrap the paper around makes the job a little easier.
If you have multiple projects to do, you may consider investing in a powered sander. See the staff at your local hardware store for assistance. I have a little Ryobi mouse (palm) sander that is great in lots of different applications for lighter jobs and a belt sander for more serious sanding, or when there are big, flat surfaces to do for staining, oiling etc...
(3) Bonding Agent:
I use our Birds Special Bond (BSB)as a quick and easy sealer and to provide more “tack” on surfaces where I need good adhesion. This is particularly handy when using milk paint. BSB can also be mixed in with the first coat of paint to achieve better adhesion. It’s a great product, as you can also use it to seal over decoupage or furniture transfers to ensure they won’t lift before applying your finishing coat.
If you will be painting a surface that you are concerned about in regard to how well the paint will adhere (such as melamine) a very light scuff sand, two coats of BSB and a little in your first coat should get the job done for you.
(4) Blocker/Primer:
If painting anything where tannin bleed may be an issue, or if you have a dark surface you don’t want to show through, you can prepare your surface with a 3 in 1 primer/sealer/undercoat. If you are really concerned about bleed through or old stains such as oil, you can use a shellac based blocker such as the Zinnser BIN in the Red tin. I only use this when I really feel I need to as it has some fumes, and is not a water based primer. You can find water based primer at your local hardware store. Our BSB can also be used as a sealer/primer for pieces, but does not stop tannin bleed as effectively as a shellac based primer. The advantage of BSB is it is non-toxic and has no nasty fumes. It also dries almost completely clear, so perfect for in between coats too.
(5) Paint
You’re probably thinking, “well that’s obvious!”, but it’s important to make sure your paint is appropriate for furniture and right for the piece you want to paint.
We have an acrylic based mineral Furniture Paint which is great for full coverage, a smooth, self levelling finish and has exceptional durability once cured. It will stick to just about anything! Our all natural Milk Paint (also made with minerals) is great for achieving a vintage/rustic look. It can be used in a lot of different situations, including outdoors. Think all the lovely chippy, beautifully aged furniture you see styled in home magazines - you can easily achieve that look with milk paint. The draw back of milk paint is it doesn’t have as good adhesive properties as mineral paint, and therefore you need to consider what you are painting with it. If you want a fuller coverage look, you will likely have to scuff sand and use our special bond first, as well as adding some bonding agent in with your first two coats. Our paint comes in a huge range of colours. You can see all of the lovely colours here...
Here are two examples to demonstrate the differences a little better. The first is Milk Paint, the second is mineral Furniture Paint, both in shades of black.

This lovely sideboard in painted in “Almost Famous” Vintage Bird Milk Paint by @oakridgedesigns

This stunning side table in from our Furniture Paint collection in “Black Cat” by @nottooshabbybyhopeoliver and is finished with a satin polyurethane.
Chalk paint is also very popular and there are lots of brands out there. Acrylic based mineral paint is not porous and doesn’t need to be sealed for protection like chalk paint and milk paint does. This means you can “skip a step” if you want!
Try to buy Australian if you can. :-)
(6) Sealer
I nearly always seal my painted furniture in our Hemp Finishing Oil. There are lots of reasons, and you can learn more about that in my blog “Five Reasons Why I Love Hemp Oil”.
It’s fool proof, easy, and does a great job. That’s all the reasons I need!
The other ways of sealing your finished surfaces is with wax, a polyurethane sealer, or our soon to be released, new matt, flat VB Clear Coat. It’s great for giving your furniture and decor items a good level of protection, but without loosing the matt, soft finish of the paint. It isn’t a polyurethane or shellac based sealer, so will afford the same level of protection as an acrylic coat of paint, and can be cleaned and cared for in the same way.
To apply sealer you will need either a natural bristled brush (for oil and wax), or a lint free cloth or special nylon brush for applying poly. (Monarch brushes do a good one).
To look after your finished furniture, clean using a warm, soapy cloth that is wrung out to damp and wipe over your surfaces, let it dry and buff with another clean, lint fee cloth.
Looking for an extra tip?
The only other thing I find myself using regularly is my heat gun! I’m not terribly patient, and especially when doing small projects like painting jars, frames etc... I like to be able to move on quickly. Using medium heat at a distance of about 20cm until touch dry will generally help you half your time between coats. You don’t need to purchase a heat gun - your hair dryer will do the trick. Use with caution on larger pieces of furniture, as veneer or glue may be affected by the heat.
Oh, and an apron! I would recommend wearing an apron. I’m a messy painter...
Hope this is helpful :-)
Happy Painting!
Corrina
Chief Paint Addict at Bird on the Hill. xx
Keen to get started? Grab one of our "all you need" furniture painting" kits.
Are you a member of our club yet? When you join our “Paints Points” program you receive rewards on all of your online purchases.


