Milk Paint.
It's a bit of an unknown quantity here in Australia. Unlike our American cousins, who have been using commercially made milk paint mixes for decor uses for years, we are just starting to see milk paint in mainstream use in Australia.
Read on for everything you need to know to get started, paint and finish your next up-cycled masterpiece using the Vintage Bird's Milk Paint...
If you want to find out more about what makes milk paint such a great painting medium to use, check out the "Using Milk Paint" link at the top of our sites home page.
Step 1: Getting started (aka, prepping your piece)
Choose your piece. Milk paint is great for indoor and outdoor furniture, concrete, metal and glass, so you may have a tough time picking something. If you haven't done a lot of painting before, or want to practice the mixing step, start with something small so you are only making up a small amount of paint to begin with. Maybe a jar or old vase, or a concrete or clay plant pot.
Prep your piece by dusting, washing with warm soapy water and/or using a de-greaser such as sugarsoap. Remove any flaky, blister bits of old paint or varnish. A light sand may be necessary, but no need to go back to bare timber.
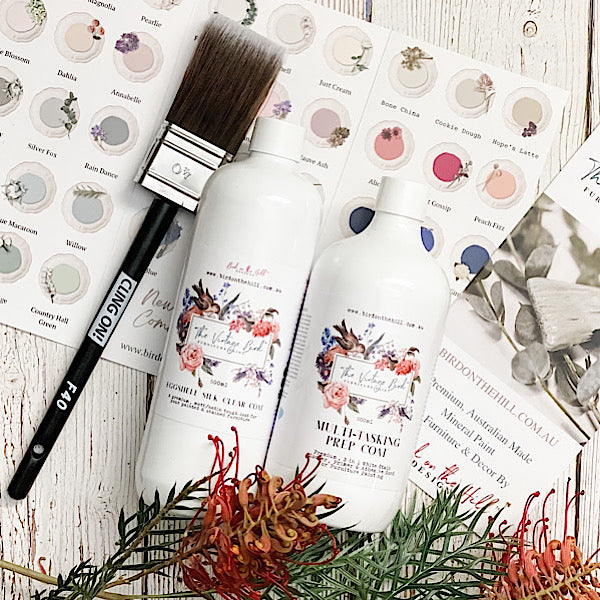
When it's washed and dry, you can give it a coat of B.S.B (our special bond) to help the paint adhere and make your first coat cover better.

This is great for shiny varnished and glass surfaces. You can also seal your piece with B.S.B, but more about that later. This stuff is great, and a small amount goes a long way, so you it will see you though quite few painting projects.
Step 2: Mixing your paint.
First you need to work out roughly how much paint you will need. I always aim to make up less than what I think I will need, as it always goes further than I think and this saves on wastage. Un-mixed milk paint powder will last for years and years if stored correctly, but once you have mixed your paint, you should use if within a day or so. If you put in in an air tight container, like an old jam jar, you can store it in a cool, dry place. If it's really hot, I pop mine in the fridge during coats or overnight. I use disposable plastic gloves when I mix my paint. There are no harmful ingredients in our milk paint, but you may find that the brighter and darker coloured pigment can stain you fingers when you are mixing.
Our small bags will make approx 375 - 500ml of paint and our large bags will make 750 - 1 litre of paint.

So lets say you were painting a small stool. You will need to mix up approximately 220ml of paint which is about 1/3 of a cup of powder. Add this to your jar and then measure out 1/3 cup of hot water. Now, you need to pay special attention to this piece of info - it's one of those important tips that will make a big difference to your finished piece... It's much easier to mix your paint and get a good consistency if you use hot water. It doesn't have to be scalding hot, but should be quite warm.
The next important tip is to only pour half your water in to start, and then mix as well as you can. Now you can start adding more paint whilst you mix, just a little at a time until you end up with a paint that is about the consistency of thin cream. You will notice the paint has a limed smell. This is because hydlalised lime is one of the key ingredients. This smell fades quite quickly after you have painted your furniture. An up side to the limed smell is that it's a natural de-odouriser, which is great for some of the funny smells you find in drawers and cupboards of old furniture.

Now for another important step... Go have a cup of coffee, or do some yoga, or catch up on some Netflix for 20 minutes. Why? Because you want to let your paint stand and for the pigment to penetrate though the liquid and develop the colour. Your paint will also thicken slightly on standing, which means it now should be a gorgeous colour and be the right consistency for painting. Give it another good stir for 30 or 40 seconds and then you are ready to paint!
Step 3: Start painting!
Dip the very tip of your brush in some water, shake off excess and then dip just the bottom part of your brush into your paint. Paint in long, fluid lines, following the grain if you are painting a timber surface. Don't overload your brush and don't try to apply your paint too thick. Your first coat will probably look more like a wash than an opaque painted surface and may be a little patchy. Don't panic, it's all good and you will be amazed at the change when you apply your second coat.
Milk paint dries super fast, so you won't have to wait too long to apply your next coat. Don't forget to cover you paint pot whilst you are waiting to avoid a skin forming on the paint.

Apply your second coat in the same way as the first and then decide if you need a third coat. Most painted surfaces look better and will hold up better to wear and tear with 3 coats of paint, regardless of the type of paint you are using.
Step 4: Just about done...
When your paint is dry, give it a light sand. Keep the pressure very light until you get a feel for how the surface will respond. Milk paint has a lovely, smooth feel when sanded with fine grit paper. You may find that the surface has "resisted" the paint in some areas, and this is when you will get that chippy look that is so popular for vintage furniture. If you don't want this to happen, that's ok, however you may need to be more particular about your prep and certainly consider using B.S.B.
Step 5: Finished!
After a light sand, you can seal your piece. Milk paint creates a porous surface, so it's always a good idea to seal to ensure your piece stays looking good and is easy to clean. You can use a polyurethane sealer, beeswax based furniture wax, our B.S.B as a sealer (creates a moisture resistant, very matt, hard finish) or, my favourite, Bird's Hemp Finishing Oil. This is amazing stuff as it's so easy to apply, and once you have given it a chance to sink in through the paint and into the timber below, it creates a moisture resistant, fade resistant, easy to clean surface that further enriches the colour of your piece.
I hope you try our Vintage Bird Milk Paint soon. I guarantee you will love it. It's so satisfying when you get to stand back and think "I've just created something amazing!"
The only question then of course, is which colour will you use next...
Happy Painting,
Corrina


