We Love Milk Paint!
It's a beautiful medium which allows you to create a silky, smooth finish, and turn anything into something that looks like a cherished piece of vintage treasure!
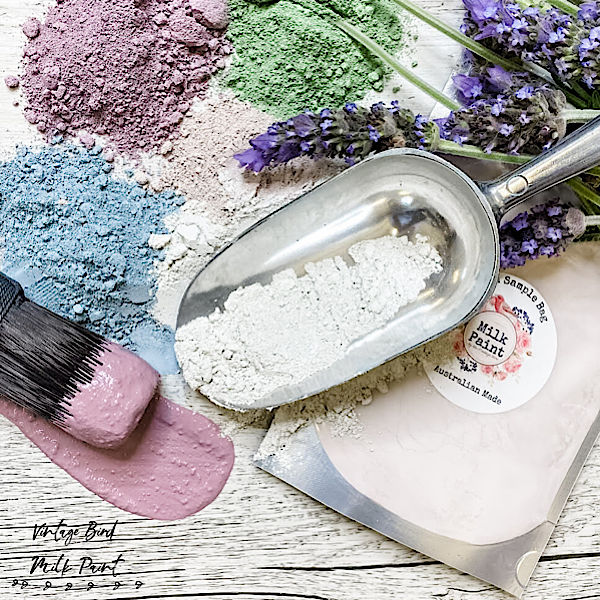
We're super excited to launch our new Milk Paint colours - The Vintage Botanicals Collection. Five gorgeous colours inspired by all things Spring and Floral.
We would love you to try milk paint and find out why this is my favourite type of paint to use. I want to take away the fear factor - it's super simple and virtually foolproof!
Here are my top tips to help you achieve a beautiful, painted finish with Milk Paint...
- Use a tablespoon scoop, or small cup measure (like a quarter or third cup) to measure out the amount of powdered paint you want to make. A little goes a long way, so start with a small amount to begin with until you have a better idea what consistency you want and how much you need it to cover. I usually make up no more than a quarter to third cup at a time for larger projects, or a couple of tablespoons for smaller ones.
- Always use warm to hot water to mix your paint. It will incorporate a lot easier, and more quickly with warmer water.
- Use the same amount of water as you measured out for your paint powder. For example: 1/4 cup paint powder to 1/4 cup warm water.
- Add your water slowly as you stir (think of making powdered gravy or a roux - pour the water in slowly in a thin stream whilst stirring slowly at the same time.)
- I don't use any fancy equipment to make up my paint - just a glass jar or old mug and a spoon or paddle pop stick.
- Stir slowly to avoid introducing too many air bubbles into your mixture. They won't effect your paint, but you will need to wait for longer for the air to disperse before you start painting. This is why I don’t like using a stick blender to mix my paint, or using a sealed jar and shaking vigorously (though the latter would be my preference of these two mixing methods.)
- You are aiming to get a consistency like pouring cream. Making your paint too thick just means you will use a lot more than needed, and having it too thin means more chance of runs, and thinner coverage. The exception to this rule is when you want to use your milk paint as a stain or wash - you can then have it like skim milk consistency and use a soft, nylon brush or damp, lint free cloth to apply it to your surface.

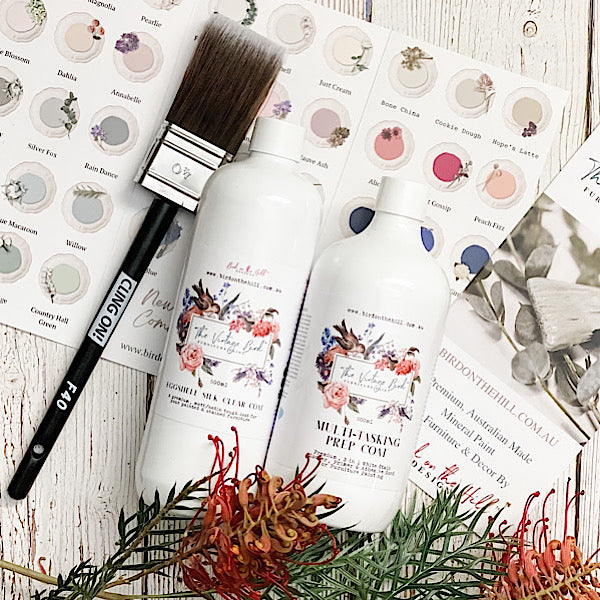
My other go to product when using Milk Paint is our B.S.B (Special Bond). It really is the ultimate all rounder and can help you prime, get extra adhesion, act as as binder for your paint, and a medium to finish your piece if you want a really matte finish. It's also great for decoupage and to add a protective layer over the top of transfers and stencils.
Don’t forget that Milk Paint, by nature, is a porous finish paint. This means that to protect it, and lock in the pigmented colour, you should use a sealer.
There are a couple of different options for this step:
- Wax over the surface using our Bird’s & Bee’s Clear Wax Paste
- Use a poly-acrylic (water based) clear coat sealer
- Apply a coat of Hemp Finishing Oil (my usual finish of choice due to the added durability it provides and ease of use).
Ensure your paint is thoroughly dry before applying any finishing coats, or transfers and other decorative mediums to your surface. It’s best to wait a couple of days, or at least overnight before you do this final step.
Do You Need To Sand?
If you’re going for a really chippy, rustic aesthetic, than no. If you want just a little chippiness/distressing, than we recommend a good scuff sand of your piece before you start. Use a medium grade sand paper and just aim to break the surface tension all over (no need to sand back to bare timber) The idea is just to add some “tooth” so your paint will have something to adhere to.
If you want to achieve a full coverage look, then we recommend a good sand all over, and a coat of our B.S.B or other good quality primer.
What about afterwards?
There’s no need to sand if you don’t want to. If you have a few naughty drips or runs that are evident, or you want a really smooth finish, here is my preferred method:
Apply a coat of Hemp Finishing Oil, and using a very fine grade sandpaper (either a 600 or 1200 grit), gently sand with the grain in long strokes. Gently is the key word here - you just want to “polish” the surface, not take the paint back to the pre-existing finish.
That’s it. See - easy peasy!
SHOP MILK PAINT
I can’t wait to share some projects using our new colours with you.
Happy painting,
Corrina xx
PS:I f you'd like to find out more about the "wet sanding" method with hemp oil, you can read my blog here:
All About Hemp Oil


